I'm starting breadmaking all over again!
After contemplating for the longest time, I bought a Mayer Breadmaker, immediately after I saw a great deal online!
Ever since the previous breadmaker broken down, I'm afraid to invest in another one. Afraid that it will break down without using much (the previous spoilt in less than 3 years). Afraid that I will not use it frequently as time goes on.
Still I have been waiting for promotions for breadmakers, searching online shopping websites for any good deals, and even thought of getting from Taobao. Looking for a basic and cheaper one to play with.
Finally, I saw the great deal and bought without hesistation! From a carousell seller who got it as free gift. It's brand new at $60! Model is MMBM12 (750g). Glove included.
It has been 1 week since I bought the breadmaker. Have made bread 3 times with it and sharing over here.
First experiment with Amish white bread
I'm using the
Amish White Bread recipe from My Mind Patch as I found she's using the same Mayer breadmaker. A good read to familiarize with this breadmaker.
Simple ingredients, no egg, no milk, no butter. Great for a testing a new machine.
Ingredients
160g cold water
45g raw sugar (I use white sugar)
3g salt
20g coconut oil (I use vegetable oil)
210g bread flour
50g top/cake flour
3/4 tsp instant dry yeast
1. Put in the ingredients in the order stated, water first, yeast last.
2. Select sweet bread, 500g, light crust. Total making time is 2 hours 25 minutes.
3. Kneading.
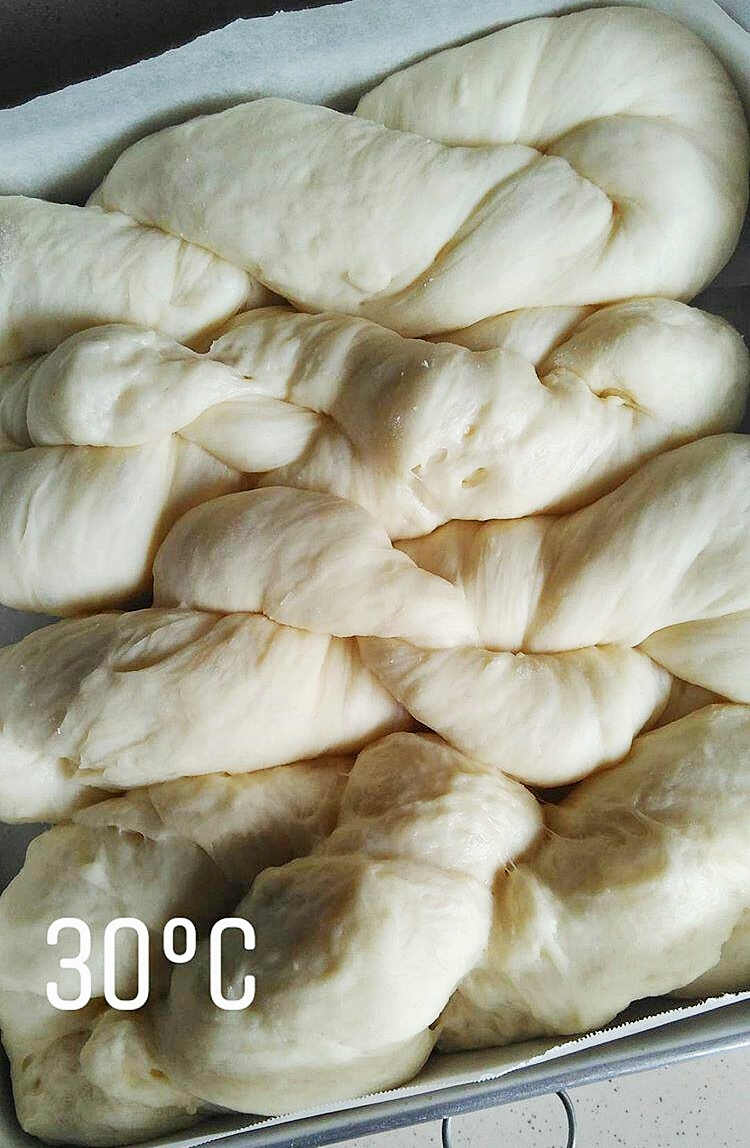
4. Proofing.
5. Just baked.
6. Out of the machine, upside down, with a hole which is where the blade is.
Noting the timeline for sweet bread:
2:25 Start mixing and kneading
2:13 Pause kneading for 5 minutes
2:08 Start kneading
2:05 Beep for adding extra ingredients
1:50 Stop kneading (Total 35 minutes) and first proofing (20 minutes)
1:30 Beep (Optional: Can pause the machine at this time, take the dough out to remove the blade, shape, and then put it back to the machine and resume proofing.)
0:45 Start baking (Do not open machine)
My first simple white bread. Not bad! Crust a bit too light, a bit moist (maybe I cut when still warm), bad slicing! Overall it's very soft, a bit chewy, and mildly sweet.
The 2 other breads I'm using recipes from this Chinese breadmaker book which I bought even before I decided on buying a breadmaker!
Basic white bread
This is the first and most basic recipe in this book. So just try. There's no oil and butter in it at all.
Ingredients
190ml cold water
20g sugar
5g salt
250g bread flour
3g (3/4 tsp) instant dry yeast
1. Using soft bread, 500g, dark crust.
2. Dough seems to be a bit wet. In fact the water content seems to be slightly higher for this book.
3. Out of breadmaker. The top always not dark enough.
4. Rougher and more crumbly. Expected. Tiny bit of saltiness.
Noting the timeline for soft bread:
2:27 Start mixing and kneading
2:17 Pause kneading for 10 minutes
2:07 Start kneading
2:04 Beep for adding extra ingredients
1:50 Stop kneading (Total 37 minutes) and first proofing (20 minutes)
1:30 Beep (Optional: Can pause the machine at this time, take the dough out to remove the blade, shape, and then put it back to the machine and resume proofing.)
0:45 Start baking (Do not open machine)
Pumpkin bread
Ingredients
200g pumpkin (I used 127g (my leftover), steamed and mashed)
50g egg
60ml cold milk (I use egg + water = 100g)
30g sugar
3g salt
250g bread flour
3g (3/4 tsp) instant dry yeast
20g unsalted butter
1. Mashed pumpkin, egg and water
2. The dry ingredients (I should add the butter only after 1st kneading)
3. Using sweet bread, 500g, dark crust.
4. After kneading
5. After proofing
6. Just baked
Looks good!
Cutting out. Nice golden yellow! Some holes, due to air pockets, and maybe the pumpkin bits.
It's quite soft, and some sweetness from the pumpkin.
Will update after more experiments.